Why professional website photography matters
Professional website photography lets you tell your business’s story in a way stock images never can. Your website photos should represent your brand completely, rather than borrowing a look from images made for somebody else.
As a web designer, I absolutely love working on a website where the client has invested in professional photography. It elevates the whole site, it’s true to the brand, and it’s completely unique. You can’t beat it.
I’ve seen it before when people get excited about booking a photoshoot as soon as they start a business, then turn up in the wrong outfit, in the wrong setting, with pictures that tell the wrong story. A little preparation fixes that.
Here is how I recommend getting ready, in three stages (before the shoot, planning the shoot and on the day), so you leave with a library of professional photos for your website that you can also reuse across social media and marketing.
Before the shoot
Get clear on your brand first
Before you book a photographer, be completely clear on what your brand is. I’d recommend working with a brand designer first, to define what your business represents, who it represents, and the values, mission and core beliefs behind it.
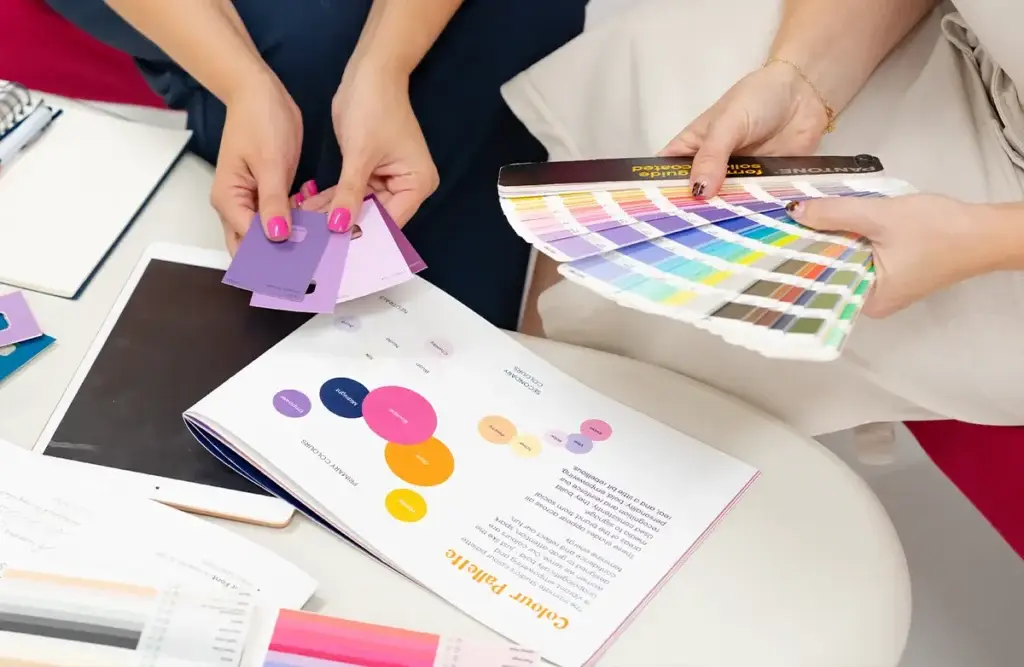
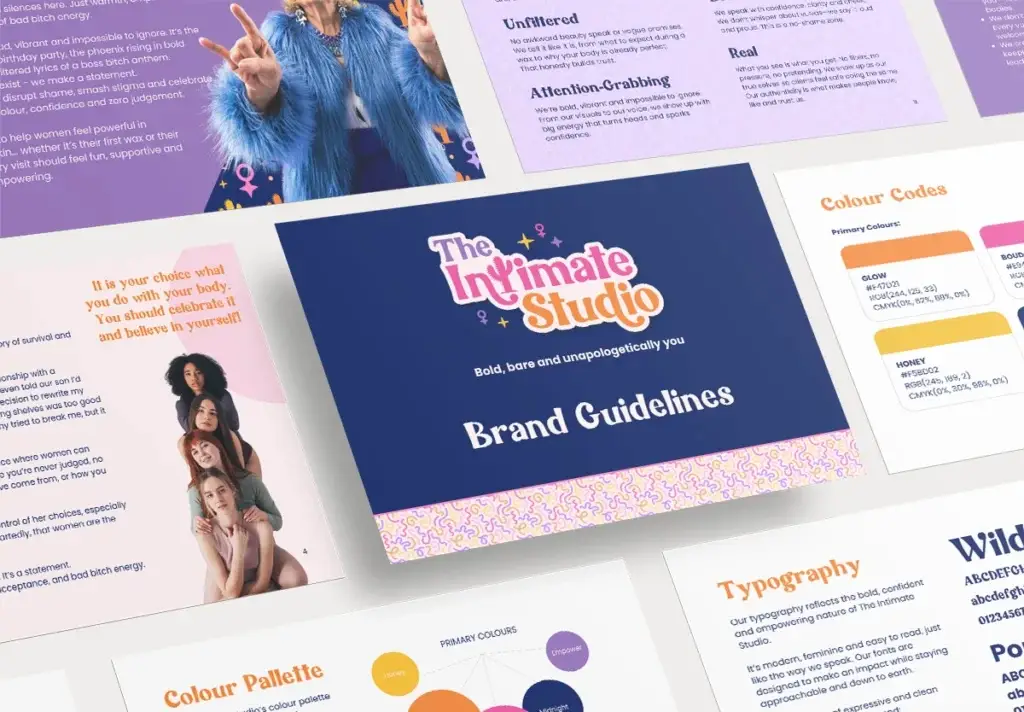
That work also defines your colours, your style and the overall vibe you are going for. Every one of those decisions shapes what you wear, where you shoot and how the photos feel, so knowing this first makes it far easier to get the pictures right.
Planning the shoot
Plan with your team
Build an inspiration board

Source your props
Whether the photographer comes to you or you book a studio, you are showing off how you work, not documenting a normal day. Think about which props will tell that story in a picture.
If you’re an architect, for example, lay out your papers and the tools you use on the side. Photos don’t always need people in them: props on desks and flat lays work well, ideally with hands in some of the shots too to give the human touch.
Every industry has its own props. An interior designer could gather paint samples, materials and tiles and show off moodboards, while a beauty business could show the products they use or demonstrate their services.
Choose your outfits
- Avoid branded items, unless it’s your own brand.
- Stick to your brand colours.
- Keep clothes simple, with no crazy patterns. Solid colours photograph better.
Work out which website photos you need
Once your brand is sorted, think about the type of website photographs you want:
- The lighting, the style, and where you want to be.
- Do you want to be out and about in a particular location, or indoors?
- Would you like pictures with your clients that show the story behind how people work with you?
That last one is always a good idea. When someone lands on your website, they can see you at work and picture what it would be like to work with you.
If you work with a team, show them interacting with each other too. You could even bring someone in to act as a client, so your photos show what it’s really like to work with you.
I’d suggest a mix of two things:
- Professional headshots for team pages, profile images and anywhere else you need one.
- Candid shots of you working, in the environment where you actually work, to give a real overview of what people can expect.
Then go through your website page by page, including your homepage, about page, services and team page, and note which images each one needs. That list becomes the start of your shot list.
Write your shot list
Once you know what you need, put it all into one shot list. Ask your website designer what they need and add your social media plans, so nothing gets missed.
You’ll hopefully end up with a whole library of images, so make them work hard across your website, social media and marketing. For your website, ask the photographer for both landscape and portrait shots. Desktop header images call for landscape, but mobile view often works better with portrait, so you need both orientations.
Ask for a few shots with plenty of empty space around you, so a headline or button can sit over the image on your website.
On the day of the shoot
Prepare your workspace
If the photographer is coming to your office to photograph you at work, tidy up first. The less editing needed afterwards, the better.
- Put away bags and coats, and clear anything hanging on the back of your chair.
- Don’t leave your lunch on the desk.
- Make sure there’s no sensitive information on your screens. It can be Photoshopped out, but it’s best avoided.
- Check that there’s good light, so the photos come out bright and clean.
Print your shot list and inspiration images
Iron your outfits and have your props together
Top tips for after the shoot
- Keep wearing the outfits from your photoshoot when you’re out and about. If you go networking in them, people start to recognise you from your website the moment they meet you. It’s all part of the whole brand experience.
- Reuse your photos over and over. Crop them in different ways for different places, such as website headers, social media posts and marketing materials, so you maximise the use of every image.
- Update your headshot everywhere it appears, including LinkedIn, your social media profiles and your email signature, so people recognise you wherever they find you.
- Optimise your images before you upload them to your website. Resize and compress them so your pages load quickly.
- Back up your original files, and check with your photographer how you’re allowed to use the images.
Your photoshoot checklist
How I prepared for my own shoot
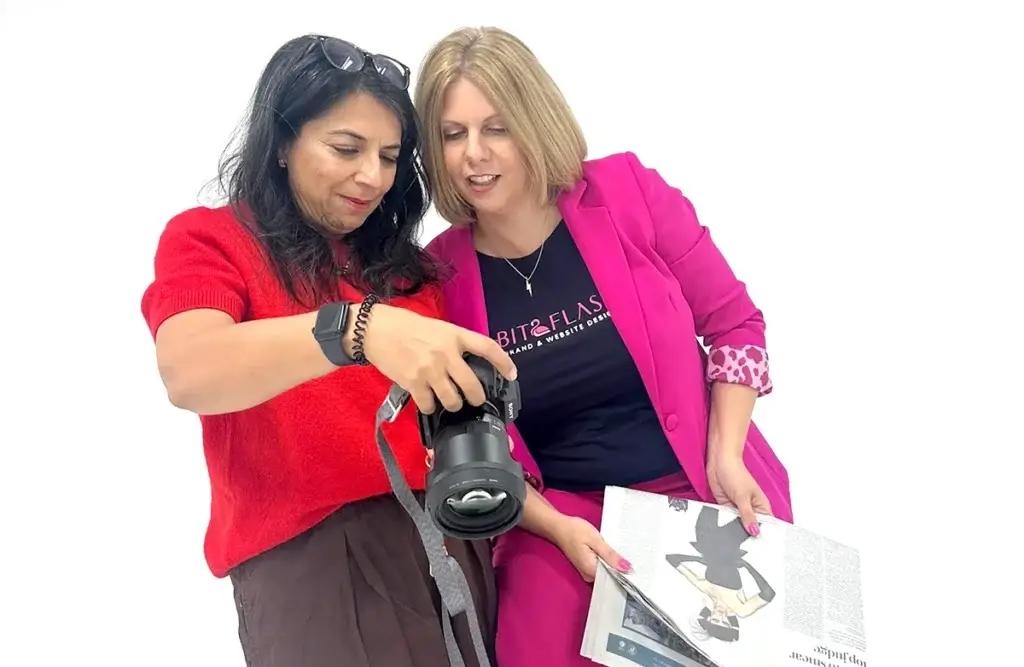
Back in August, when I decided to rebrand Bit2Flash, I knew a professional photoshoot would be part of the process. I wanted to get the absolute most out of my time with Hiral from HJ Photography, the photographer I work with, so I followed every step in this post.
I had already worked out my branding. Then I sourced the clothes, outfits and props I wanted to use in the photos. I built a Pinterest board of the things I wanted to capture, so I knew the vibe I was going for. I went through the pages of my website to work out which images I’d need, and turned that into a shot list, so Hiral knew exactly what I was after and nothing got missed.
If I did it again, I’d print out some of those inspiration photos and bring them on the day. Other than that, preparing this way made the whole shoot smoother and the results far more useful.
A great photoshoot starts long before the photographer arrives. Get your brand clear, plan your shots page by page, and your website photos will tell the right story everywhere you use them.
Planning a new website and want your photography to work as hard as your design?
Get in touch with Bit2Flash and let’s talk about it.